As an Amazon Associate, we earn from qualifying purchases. Some links on this site are affiliate links at no extra cost to you. Our recommendations are based on thorough research and editorial judgment.

Can You Freeze Mason Jars? A Guide to Avoiding Cracked Glass
Have you ever wondered if you can freeze mason jars without them cracking? The good news is, yes, you can, but a few simple precautions will help you avoid any mishaps.
You may be interested
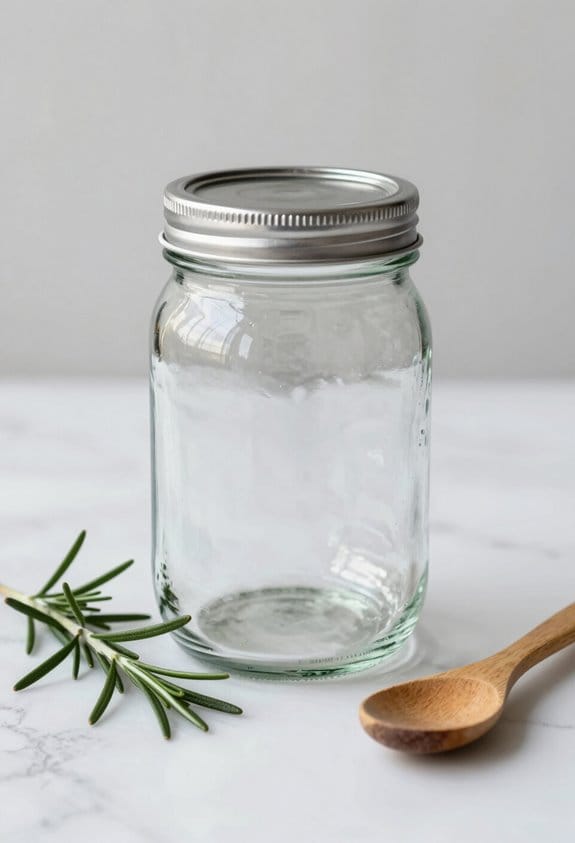
First off, always opt for sturdy, wide-mouth mason jars made from tempered glass. These are generally more resistant to temperature changes.
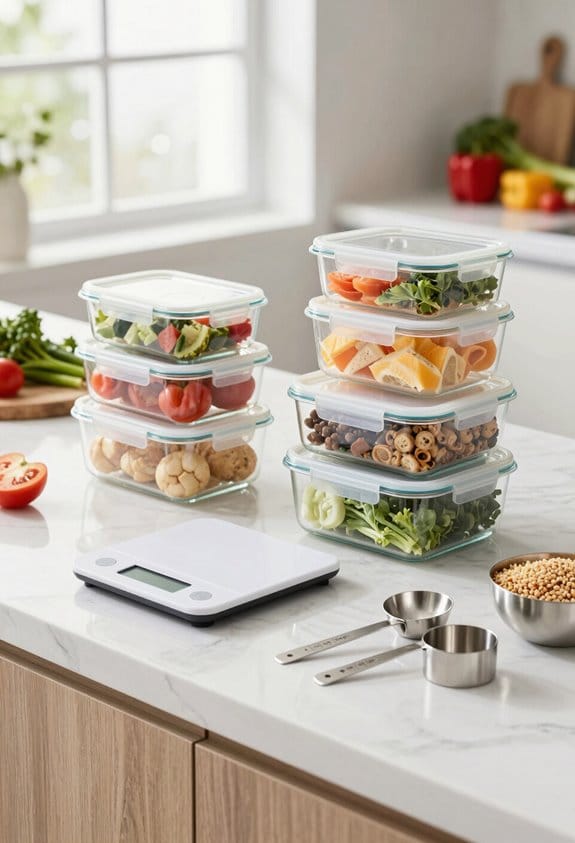
And when you’re filling them up, make sure to leave about 1-2 inches of headspace. This space is crucial because liquids expand when they freeze, and you definitely don’t want your jars to break.
A little tip: before you toss those jars in the freezer, let them cool down in the fridge for a bit. It makes a huge difference!
And when you do put them in the freezer, don’t screw the lids on too tight. Keeping them loose helps prevent pressure buildup, which is key to avoiding cracks.
When it’s time to thaw your jars, there are a couple of options. You can either leave them in the fridge or let them sit at room temperature.
Just remember to loosen the lids before you do. So, why does this matter? Cracked jars can lead to a real mess and waste your food.
To keep your mason jars in great shape, try following these tips consistently.
Trust me, taking these small steps will save you from a lot of hassle down the road.
What’s your favorite thing to store in mason jars? I’d love to hear about it!
Key Takeaways
- Use wide-mouth mason jars made of tempered glass to prevent cracking during freezing.
- Leave 1-2 inches of headspace in jars to accommodate liquid expansion as they freeze.
- Cool jars in the fridge before freezing to minimize the risk of thermal shock.
- Keep lids slightly loose or remove them to allow pressure to escape while freezing.
- Thaw frozen jars at room temperature or in cold water, avoiding hot water to prevent breakage.
Choosing the Right Jar Type for Freezing
When it comes to freezing food, choosing the right mason jar can make all the difference. Have you ever reached for a jar and thought, “Will this hold up in the freezer?” Spoiler alert: not all jars are created equal!
Wide-mouth mason jars with straight sides are a solid choice. Why? They help reduce the chances of broken glass since they don’t have those annoying shoulders that tend to create pressure points. Don’t skimp on the quality either; opt for jars made of tempered glass. They’re designed to withstand temperature changes way better than regular glass.
Honestly, steer clear of those recycled jars from the grocery store. They just weren’t made for freezing, and you could end up with a mess on your hands—literally. Pay attention to jar sizes, too! Always leave about 1-2 inches of headspace for the food to expand as it freezes. Trust me, that little guideline is a lifesaver.
So, what’s the best part? You should always check for a freeze-fill line to avoid that pesky overfilling. That little line can save you from potential disaster and keep your freezer organized. Additionally, choosing containers with temperature tolerance helps ensure your jars can safely handle freezing and thawing without cracking.
Can Mason Jars Really Be Frozen Safely?
Can we really freeze mason jars safely? The answer is yes, but there are a few things to keep in mind. First off, you want to make sure you’re using sturdy, thick glass jars that are specifically made for freezing. Trust me, it makes a difference.
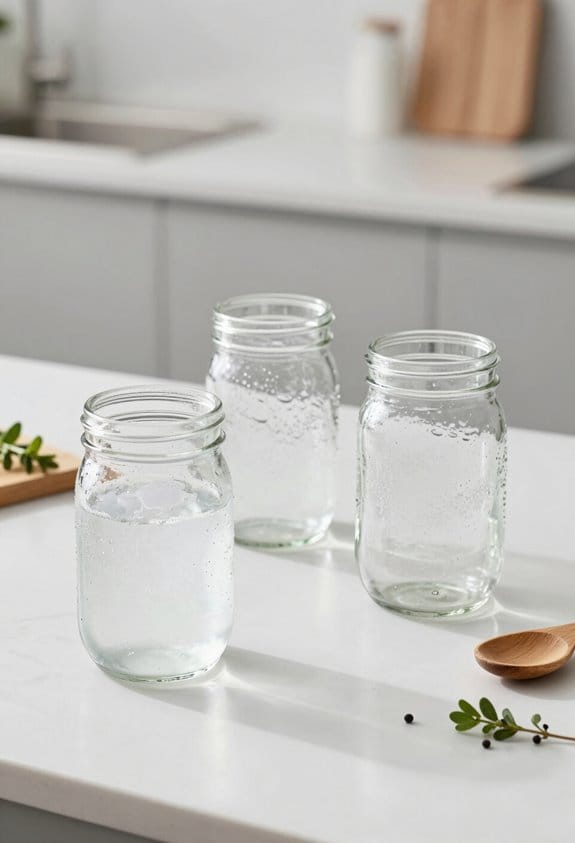
Here’s a handy tip: always leave about 1-2 inches of headspace at the top of the jar. Why? Because liquids expand as they freeze, and you don’t want to risk your precious preserves shattering the glass. Also, take the time to cool the filled jars in the fridge before popping them into the freezer. This step helps prevent thermal shock, which can lead to cracks and breaks.
Now, here’s the trick: when you’re putting the jars in the freezer, keep the lids slightly loose. This helps to prevent pressure buildup that could otherwise cause a mess. And give them a little space! Make sure the jars are spaced apart so they have room to expand and won’t rattle against each other.
So, why does this matter? It’s all about peace of mind and keeping your food safe. By following these tips, you’ll be less likely to deal with broken jars and wasted food.
To recap, use thick jars, leave some headspace, cool them down first, keep the lids loose, and space them out in the freezer. Also, consider using jars made from materials with waterproof features to enhance durability during freezing.
Have you tried freezing mason jars in the past, or is this a new endeavor for you?
Why Glass Breaks – Let’s Break It Down

Ever had a moment when you reached for a glass jar, only to see it crack spectacularly in front of your eyes? It can be frustrating, but glass isn’t as tough as we often believe. The truth is, glass breaks mainly because of the stress it encounters from its rigid structure.
Temperature changes can be particularly brutal. Non-tempered glass, especially, is prone to internal fractures when it heats up or cools down too quickly. Those little air bubbles trapped inside? They don’t help. When the temperature changes, these bubbles expand and contract, putting extra stress on the glass. So, why does this matter? If you’ve got a favorite jar, you definitely don’t want it cracking unexpectedly.
Another common issue happens when jars are overfilled. When you freeze contents, they need room to expand. If there isn’t enough space, the pressure builds up, and crack – you’re left with a shattered mess. Jars with shoulders are often worse off than straight-sided pieces due to these pressure points, making them more prone to breakage.
Here’s the trick: to prevent these glass disasters, handle your jars carefully. When cooling or heating them, give them a minute to adapt to the change. If you’re freezing something, only fill jars up to a certain point to give that space they need. Just like with kitchen tools, choosing the right durable materials can help prevent damage and extend usability over time.
How to Properly Prepare Jars for Freezing
Freezing food is a great way to preserve it, but have you ever wondered how to do it safely with mason jars? It’s super important to get your jars ready the right way so they don’t crack or break in the freezer. Let’s dive into how you can set them up properly.
First off, stick with sturdy, wide-mouth mason jars that are designed just for freezing. These are your best bet to withstand those cold temperatures. When you fill them with food, make sure to leave about 1-2 inches of headspace. This allows for any expansion as the food freezes—trust me, you don’t want a messy explosion in your freezer.
Speaking of food, it should cool down to room temperature before going in the jars. A little overnight chill in the fridge can really help with this step! After that, it’s key to avoid cramming those jars together in the freezer; air needs to circulate around them to keep everything safe.
Here’s the trick: when you first put your jars in the freezer, don’t screw the lids on tightly or use the lids at all. Just place them on loosely. You can tighten them once the contents are fully frozen. This bit is crucial because it prevents pressure from building up that could lead to cracked glass or freezer burn.
So, why does this matter? Properly preparing jars for freezing can mean the difference between perfectly preserved food and a big waste of time and ingredients. Honestly, it’s all about keeping your food safe and tasty until you’re ready to enjoy it. Additionally, using microwave and dishwasher safe containers can simplify cleanup and ensure long-term durability with your freezing storage solutions.
Headspace in Freezing: Why It Matters
Have you ever opened your freezer only to find a mess of spilled liquids and cracked jars? It’s a common dilemma when freezing food in mason jars, but the good news is that there’s a simple solution: headspace. This is the space left at the top of your jar that allows liquids to expand as they freeze, preventing those frustrating mishaps.
When it comes to freezing in glass jars, here’s the scoop: always leave some room at the top. For straight-sided jars, aim for about 1 to 2 inches of headspace. If you’re using shoulder-type jars, 1 inch below the shoulder is ideal. Trust me, this small detail can save you from dealing with overflow and cracked glass down the road.
Have you ever noticed that skinny jars can be a bit tricky? They actually need a little more headspace due to their design. And here’s a handy tip: many jars come with a freeze line that shows you the maximum fill level. So, pay attention to that line—it’s there for a reason and can help keep your freezing adventures accident-free.
In short, keeping the right amount of headspace can make a world of difference when freezing food in jars. Also, using containers made from non-porous materials can help prevent bacterial growth during storage. So, next time you’re prepping for the freezer, remember these tips to ensure your food stays safe and sound. What are your go-to tips for freezing?
How to Avoid Breakage When Freezing
Are you tired of dealing with broken mason jars when freezing your favorite sauces or soups? It’s a frustrating problem that can easily be avoided with a few simple tips.
First off, go for wide-mouth mason jars instead of the standard ones. They have fewer pressure points, which means there’s less risk of cracks when they expand. That little change can save you a lot of heartache. Also, remember to leave about 1-2 inches of headspace at the top of the jar. Liquids expand when they freeze, so this step is key to avoiding breakage.
Now, let’s talk about thermal shock. It might sound a bit technical, but all it means is that you should cool your jars completely in the fridge before tossing them in the freezer. Jumping straight from the hot stove to the cold freezer can be a recipe for disaster. So, why does this matter? It reduces the temperature shock that could cause the glass to crack.
Another little tip? Store your jars with some space between them. They really need room to expand, especially when frozen. And don’t forget: freeze the jars without their lids on or slightly loosen the lids. This way, any pressure can escape before you seal them tight after the contents are frozen.
Using containers with multiple safety mechanisms can help you avoid unexpected breakage due to pressure build-up.
Safe Thawing Techniques for Glass Jars
Thawing glass jars safely can feel like a bit of a puzzle, and if you’ve ever rushed the process, you know how easily they can break. So how do you thaw them without risking a disaster? The key is to be patient.
Start by placing your frozen food in glass jars in the fridge or letting them thaw at room temperature. Are you in a hurry? Submerging the jar in cold water can do the trick, too. Just steer clear of warm or hot water since that can cause the glass to crack.
It’s also important to loosen or even remove the lid to let steam escape. This helps prevent pressure from building up inside the jar. Honestly, you should never use a microwave to thaw glass jars. The sudden temperature change can shatter the glass in an instant.
Once you’ve thawed your jars, be sure to check for any cracks before digging into the food. You want to keep your meals safe and sound! To maintain food safety and freshness after thawing, storing your jars in an insulated lunch bag can help preserve the temperature for hours.
Avoid These Common Freezing Mistakes
Have you ever opened your freezer only to find your favorite glass jars cracked or shattered? It’s frustrating, right? To avoid those mishaps, you can follow some straightforward tips for freezing food safely in glass.
Start by leaving about 1-2 inches of headspace in your jars. That little bit of extra space is crucial since it allows the food to expand as it freezes. Also, try not to fill jars with hot contents. Sudden temperature changes can lead to breakage, so let your food cool down to room temperature before packing it away.
Choosing the right jars makes a difference too. Wide-mouth mason jars are a solid option since they create fewer pressure points, reducing the risk of shattering. And when you’re stacking your jars in the freezer, don’t cram them together! Keeping some space between the jars can really help prevent them from cracking.
Don’t forget about labeling! Clearly mark your jars so you remember what’s inside and when you froze it. You know how easy it is to forget after a couple of months.
Using containers made of eco-friendly materials can also support safe and sustainable food storage practices.
Alternative Glass Containers for Freezing
Freezing food can be a real hassle, especially if you’re worried about the containers you’re using. Many people grab glass jars, which is popular, but there are plenty of other glass options worth considering that can make your life a bit easier.
Tempered glass is a fantastic choice. It’s built to handle temperature changes, so you’re less likely to see any cracks or breaks. Wide-necked glass jars, like Bonne Maman jars, work great too since they give your food room to expand as it freezes. And let’s not overlook Pyrex storage containers—they come with secure lids and handle freezing like champs.
Now, you may be thinking about those recycled food jars from the grocery store. Honestly, it might be best to skip those. They can crack really easily in the freezer, and no one wants to deal with that mess.
If you want to explore some options outside of glass, try using silicone containers or BPA-free plastics. These alternatives provide flexibility and help ensure that your food stays safe and sound in the freezer without the worry of cracked glass.
For safe food storage and durability, it’s best to opt for containers made from BPA-free plastic or tempered glass when freezing.
Caring for Your Mason Jars: Maintenance Tips
Want to keep your mason jars looking great for years to come? It’s so easy to overlook them until you need one, but regular checks can save you from a nasty surprise. Take a moment to inspect your jars for any cracks or chips before you use them. Trust me, a damaged jar may shatter if you put it in the freezer.
When it comes to cleaning, make sure you give those jars a good rinse with warm, soapy water. This step is crucial to get rid of any leftover residue that could weaken the glass. After you’re done using them, you’ll want to store your jars in a cool, dry place, keeping them out of direct sunlight to maintain their quality. Here’s a little tip: try rotating your jars occasionally. It prevents wear and tear, helping them last longer.
Also, don’t forget about the lids! If you’re using metal lids, replace them regularly to dodge rust, especially when it’s humid outside. Plastic lids can be a smart choice for long-term storage. Considering all this, you can keep your mason jars as a dependable part of your kitchen for quite some time. To maximize freshness, you might consider pairing mason jars with airtight seals like silicone gaskets to help protect your stored food.
Frequently Asked Questions
How to Prevent Mason Jars From Cracking in the Freezer?
To prevent cracking, we need to use wide-mouth jar types, cool food fully, leave headspace, and follow proper sealing methods. These freezing tips guarantee glass storage safety and effective food preservation while minimizing the risk of temperature changes.
Can I Put Glass Mason Jars in the Freezer?
Yes, we can put glass mason jars in the freezer, but we need to guarantee proper sealing and jar preparation, leave space for food expansion, and follow freezing tips to maintain glass durability and freezer safety.
How to Prevent Glass From Cracking in the Freezer?
To prevent glass from cracking in the freezer, we should use thick jars, leave headspace for food expansion, cool them gradually, and guarantee proper sealing while following safety precautions regarding freezer temperature and material quality.
How Do You Freeze Glass Jars Without Breaking Them?
Did you know improper freezing can lead to breakage in 25% of glass containers? To freeze glass jars without breaking, we should use wide-mouth designs, leave headspace, and avoid temperature shock. Following proper sealing guidelines helps too!