As an Amazon Associate, we earn from qualifying purchases. Some links on this site are affiliate links at no extra cost to you. Our recommendations are based on thorough research and editorial judgment.

Why Your Instant Pot Isn’t Sealing (Check Your Sealing Ring!)
Ever had that moment when you’re just about to dive into a delicious meal, and your Instant Pot refuses to seal? It’s frustrating, right? More often than not, the culprit is the sealing ring. If you notice it isn’t sealing properly, take a closer look at that ring.
You may be interested


Check for any cracks or bends—those little imperfections can break the seal and cause all sorts of headaches. A clean and properly seated sealing ring is essential, so make sure there aren’t any leftover food particles hanging around.
Also, here’s the trick: always use at least one cup of liquid in your pot. It creates steam, which is crucial for sealing properly. If you’ve done all that and your Instant Pot is still giving you trouble, let’s talk about some common sealing issues and maintenance tips to help keep your Instant Pot running smoothly.
So, why does this matter? Keeping your Instant Pot in top shape not only saves you time in the kitchen but also makes meal prep so much easier. Maintaining that little ring might seem small, but it can save a lot of frustration later on.
In short, check your sealing ring and clean it up.
Have you had any sealing problems with your Instant Pot? Let’s troubleshoot together!
Key Takeaways
- Inspect the sealing ring for visible cracks or deformation, as damage can prevent a proper seal and affect pressure cooking.
- Ensure the sealing ring is clean and free from food debris to avoid obstructing the seal during cooking.
- Check that the sealing ring is properly seated in the lid and that there are no blockages at the float valve.
- Look for excessive steam escaping during cooking, which often indicates a worn or improperly aligned sealing ring.
- Maintain your sealing ring by cleaning it regularly and replacing it every 6 to 18 months to ensure optimal performance.
Understanding the Role of the Sealing Ring
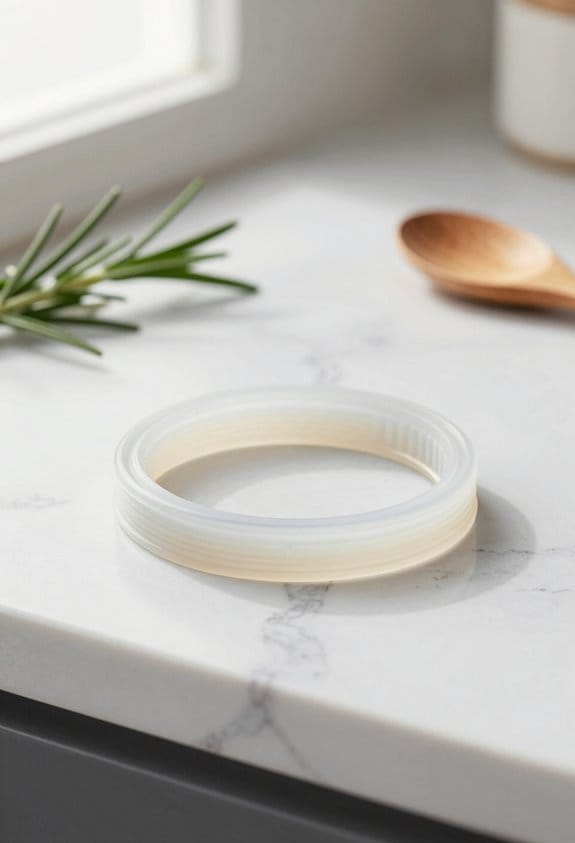
Have you ever noticed how your Instant Pot works its magic? A lot of that success comes down to one unsung hero: the sealing ring. This silicone component is responsible for creating a tight seal under the lid, which makes pressure cooking possible. When it’s seated properly, you can cook away without fretting over steam leaks.
But here’s the thing—over time, wear and tear can take its toll on that sealing ring. To keep it in tip-top shape, it’s smart to clean it regularly with warm, soapy water. If you see any food debris stuck on it, give it a good scrub to prevent blockages.
You might be wondering why this is so important. The sealing ring plays a vital role in ensuring your favorite recipes come out perfectly every time. If you spot any discoloration or cracks, don’t hesitate—it’s time for a replacement. Generally, you should think about swapping it out every 6 to 18 months, based on how often you’re using your Instant Pot.
Keeping an eye on that sealing ring will go a long way. Doing so can make all the difference in your cooking experience. After all, nobody wants a dinner full of air and steam when you’re shooting for a delicious meal. So, take a moment and check that sealing ring—you’ll be glad you did!
For added safety, many models include over 10 safety mechanisms that work together to ensure a secure cooking environment.
Signs That Your Instant Pot Isn’t Sealing Properly?

Ever tried to cook something delicious in your Instant Pot only to find out it’s not sealing properly? It can be super frustrating, and honestly, it could ruin your meal. Let’s talk about a few signs that might tell you something’s off so you can fix it fast.
Start by checking the sealing ring. Look for any wear, discoloration, or even cracks. If the ring looks old or damaged, it might be time for a replacement. Next, ensure that the ring is seated correctly in the lid. It’s a simple fix but often overlooked.
Then, take a glance at the float valve. If it’s stuck or blocked by food debris, it isn’t going to seal properly. And don’t forget the steam release valve; if it’s open, steam will escape and your Instant Pot won’t build pressure.
Leaking steam? That’s another red flag! Check around the rim for any signs of leakage. If you see any, it’s crucial to tackle these issues promptly—you don’t want to ruin dinner. A little cleaning goes a long way in helping you achieve a proper seal. For the best results, keeping your pressure cooker components clean and well-maintained can significantly improve sealing performance.
Quick Fixes for Sealing Issues

Facing sealing issues with your Instant Pot can feel frustrating, right? But you’re not alone, and it’s often easier to fix than you might think. Start by checking the silicone ring. Is it properly seated and clean? A dirty ring can definitely mess with the sealing. Also, keep an eye out for any cracks or discoloration; if you find any, you’ll want to replace it.
Another thing to look out for is the pressure valve. Make sure it’s in the closed position before you start cooking; an open valve means steam can escape, which is a no-go for proper sealing. And let’s talk about liquid—you need enough in there, at least a cup for a 6-quart pot. That’s key to creating the steam pressure needed to seal.
Try these simple steps and you should be well on your way to solving those sealing problems. It’s all about keeping an eye on those little details. Have you checked your silicone ring recently? If you want more confidence in your cooking, consider using cookbooks with step-by-step instructions and photographs to help you master your Instant Pot.
Identify Common Sealing Issues
Have you ever found yourself frustrated because your Instant Pot just won’t seal properly? You’re not alone. It’s a common issue, but spotting the problem early can save you a lot of hassle.
First things first, if you’re cooking frozen food, make sure that your inner pot is squeaky clean. It sounds simple, but any leftover gunk can stop it from sealing right. Next, check the sealing ring. A worn or misplaced ring is often the reason you’re dealing with pressure issues. Regularly inspect it for any signs of damage.
Also, don’t forget about the float valve. If food debris blocks it, you’ll have trouble with pressure release, which is definitely not fun. Keep an eye out for any discoloration, cracks, or deformities in the sealing ring; it might be time for a replacement every 12 to 18 months. You wouldn’t want to be in the middle of cooking and suddenly have a steam leak because the ring is incorrectly placed.
Here’s a tip: ensure that the sealing ring is aligned properly in the lid. If it’s not, your meal could turn into a steam-filled disaster.
Honestly, if you’re unsure about anything, don’t hesitate to reach out to customer service. They can help you sort through these common Instant Pot problems. So, maintain your equipment, and you’ll ensure smoother cooking experiences. Do you have any sealing tips of your own?
For best results, ensure you use BPA-free containers to maintain safety and durability in your kitchen tools.
Best Practices to Maintain Your Sealing Ring
You know that moment when you’re ready to cook with your Instant Pot, but something just feels off? One of the key players in your cooking success is the sealing ring, and if it’s not in tip-top shape, you might run into trouble. So, let’s talk about some easy ways to keep that sealing ring in check.
First off, regularly take a good look at the sealing ring. Are you seeing any discoloration, stretching, or cracks? Those signs mean it might be time to replace it. It’s a quick check that can save you from a cooking disaster later.
Cleaning is super important, too. After each use, make sure you wash that sealing ring with warm, soapy water. This helps to eliminate any food debris that could keep it from sealing properly. And speaking of sealing, always double-check that the ring is sitting snugly in the lid. A loose seal can lead to big problems.
Let’s not forget the rim of the lid either. Keep it free from any food bits because even the smallest crumbs can mess with the seal.
And remember, always play by the liquid guidelines when you’re cooking. Too much or too little liquid can cause all sorts of performance issues with your sealing ring.
To maintain safety and performance, it’s also best to replace your sealing ring every 12 to 24 months as recommended by manufacturer guidelines.
Keeping an eye on these things is a small effort that goes a long way in ensuring your Instant Pot operates like a dream. Have you done an inspection of your sealing ring recently?
Knowing When to Replace Your Sealing Ring?
How do you know when it’s time to swap out your sealing ring? It’s probably not something we think about often, but it’s key for keeping your Instant Pot running smoothly. Start with a visual check—look for any signs of wear, like cracks or discoloration. Noticing any steam leaks? That’s a big red flag! If your Instant Pot seems to struggle with building pressure, don’t ignore it.
Old sealing rings can even start to give off odd smells, which is definitely a no-go when you’re cooking. Keeping the ring clean and free from food scraps is super important for maintaining that airtight seal. Make it a habit to give it a good wash after each use.
Typically, you should think about replacing the sealing ring every 6 to 18 months, depending on how frequently you use your Instant Pot. Keeping an eye on these factors not only helps your pot work efficiently but ensures your meals come out just right. For maintaining the best cooking performance, consider how material and durability considerations affect the longevity of your sealing ring.
Frequently Asked Questions
How to Fix Instant Pot That Is Not Sealing?
When our Instant Pot wouldn’t seal, we quickly checked the sealing ring. Like a car’s tire, proper maintenance matters! We followed troubleshooting guides, adjusted steam release methods, and guaranteed safety precautions for perfect pressure cooking every time.
How Do I Know if My Instant Pot Seal Is Bad?
We can spot a bad seal by checking for visible signs of wear on the sealing ring. Regular inspection and timely replacement enhance our Instant Pot’s efficiency and maintain its safety features, improving our cooking experience.
What to Do if Your Instant Pot Isn’t Pressurizing?
Around 75% of pressure cooking issues stem from the steam release valve. Let’s confirm it’s closed, check the sealing ring, and maintain our appliance for safe, effective cooking. Those troubleshooting tips will enhance our kitchen gadgets’ performance!
How Often Should I Replace an Instant Pot Sealing Ring?
We should replace our sealing rings every 6-18 months, depending on usage frequency. Following proper sealing ring maintenance and silicone ring care is essential for effective pressure cooking. Let’s keep our Instant Pot accessories in top shape!


