As an Amazon Associate, we earn from qualifying purchases. Some links on this site are affiliate links at no extra cost to you. Our recommendations are based on thorough research and editorial judgment.

Making Homemade Yogurt in a Multi-Cooker: A Step-by-Step Science Guide
Have you ever thought about making your own yogurt? It might seem daunting if you’ve never tried it, but it’s easier than you think, especially with a multi-cooker!
You may be interested


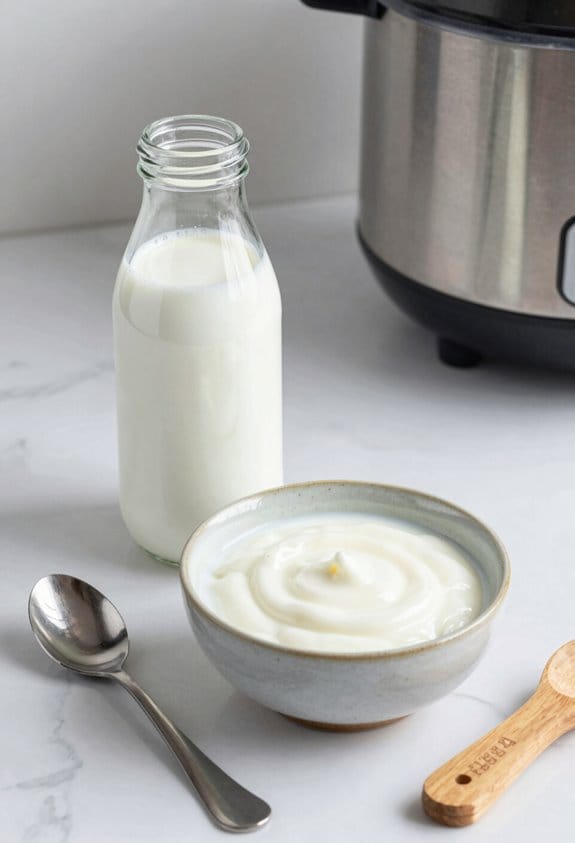
Start by heating up 2 liters of whole milk. Get it to about 240°F. Now, that’s hotter than your average hot tub—so be careful! Once you’ve reached that temp, let it cool down to a nice 115°F. This step is crucial because it’s the perfect temperature for your yogurt cultures to thrive.
Here’s the trick: whisk in 2 tablespoons of live yogurt into the cooled milk. This will kickstart the fermentation process. After that, use the yogurt function on your multi-cooker and let it go for about 8 hours. If, after this time, you find your yogurt a bit runny, don’t panic! Just give it some extra time.
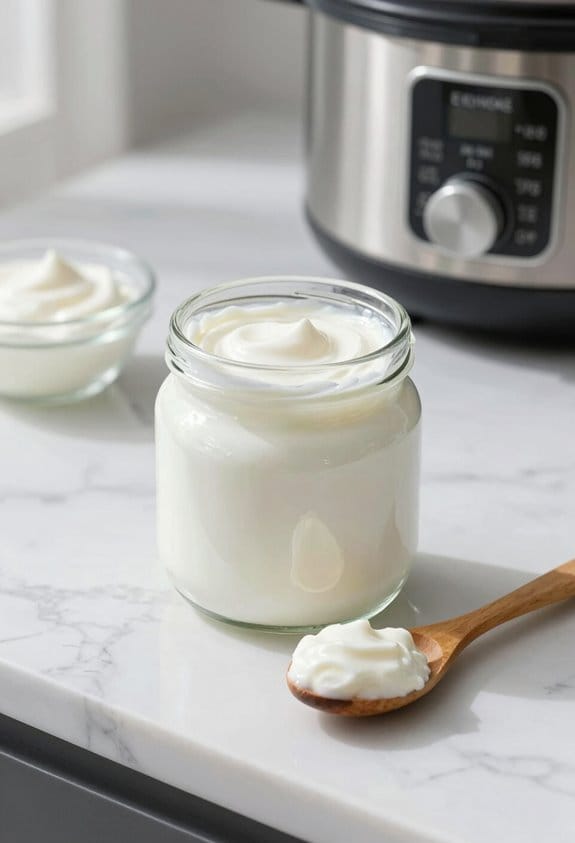
The best part is you can get creative with flavors after it’s done setting. Mix in your favorite fruits or a splash of vanilla, and you’ve got a delicious treat ready to enjoy.
So, why does this matter? Homemade yogurt is not only tasty but also lets you control what goes into it—no added sugars or preservatives. Trust me, you’ll feel great about what you’re serving up.
Give it a try and see how you like it! What’s your favorite yogurt flavor?
Key Takeaways
- Prepare Ingredients: Use 2 liters of whole milk and 2 tablespoons of live yogurt as the starter culture for optimal flavor and texture.
- Heat Milk: Heat the milk to 240°F (83°C) using the multi-cooker’s yogurt function before cooling it to 115°F (46°C).
- Mix Starter: Whisk in the live yogurt thoroughly into the cooled milk to ensure even distribution of cultures.
- Incubate: Set the multi-cooker back to the yogurt function and ferment for at least 8 hours for proper texture and tanginess.
- Chill: After fermentation, refrigerate the yogurt for at least 4 hours before transferring it to storage containers to enhance consistency.
The Science of Yogurt Fermentation
Have you ever tried making yogurt at home? It can feel a bit like conducting a science experiment right in your kitchen. The magic happens when live cultures, primarily Streptococcus thermophilus and Lactobacillus bulgaricus, get to work converting lactose into lactic acid. This isn’t just some fancy process—it’s what thickens your yogurt and adds that delightful tangy flavor.
To get it just right, you’ll need to keep the fermentation temperature between 100°F and 115°F. If it strays too far in either direction, you might end up with yogurt that doesn’t set properly or worse, spoils. During the incubation period, which usually lasts between 6 to 10 hours, those little bacteria thrive, so nailing that temperature is key.
Here’s a tip: higher acidity can boost yogurt’s probiotic benefits, making it even healthier. So it pays to be patient and precise when you’re making your batch. Keep an eye on that thermometer! Frankly, when you put in the effort to control these variables, the results can be delicious. Using a multi-cooker with fuzzy logic technology can help maintain these precise temperature settings automatically for optimal fermentation.
Essential Ingredients for Homemade Yogurt
Are you tired of those store-bought yogurts that just don’t cut it? Let’s switch things up and dive into making your very own homemade yogurt. Trust me, it’s easier than you think, and the taste is out of this world!
First things first, you’ll need some basic ingredients. Start with 2 liters of whole milk. It really does make a difference in how creamy and flavorful your yogurt turns out. Then grab 2 tablespoons of live yogurt to act as your starter. This yogurt is packed with active cultures like Lactobacillus acidophilus that are crucial for the fermentation process. If you don’t have any live yogurt on hand, no worries! You can use any plain yogurt from the store as long as it has live cultures in it.
Want a pro tip? If you find yourself making yogurt regularly, consider freezing any leftover yogurt to use as starter for your next batch. It’s a real time-saver! Just remember to keep it to 1 tablespoon of starter for every liter of milk. This helps to thicken everything just right.
So, why does this matter? The right starter and good quality milk are the backbone of delicious homemade yogurt. When you get these ingredients right, your yogurt will have that perfect tang and texture everyone loves.
In short, making yogurt at home is pretty straightforward once you gather your ingredients. Additionally, storing your homemade yogurt in airtight glass containers can help maintain its freshness and flavor longer. Have you tried making your own yogurt yet? If not, what’s holding you back? Happy yogurt-making!
Using Your Multi-Cooker: A Step-by-Step Guide
Have you ever thought about making your own yogurt at home? It can seem a bit daunting, but trust me, using a multi-cooker makes it super simple. Here’s how I like to do it.
First off, cleanliness is key. Start by scalding your inner pot with boiling water. It might seem a little extra, but it really helps ensure your yogurt stays fresh and tasty. After that, pour in 2 liters (that’s 8 cups) of whole milk.
Now, here’s the trick: lock the lid on your Instant Pot and set the valve to “Venting.” With the yogurt function, heat the milk up to 83 degrees Celsius (240°F). This step’s crucial, as heating the milk kills off any harmful bacteria that might ruin your yogurt.
Once it cools down to 46 degrees Celsius (115°F), you’ll whisk in 2 tablespoons of plain live yogurt. This is your starter, and it helps distribute those good cultures evenly. Set your multi-cooker back on the yogurt function and let it do its thing for at least 8 hours.
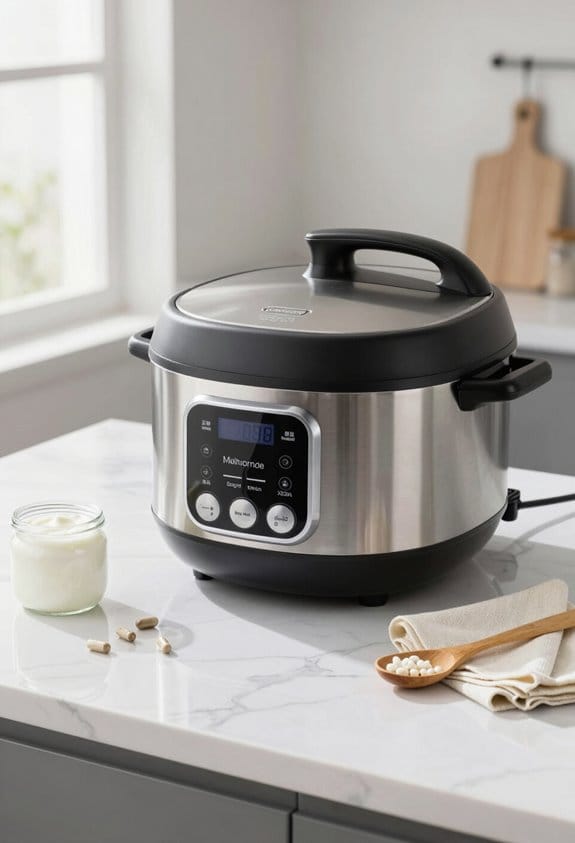
The best part? After that long wait, you can let your homemade yogurt chill in the fridge for at least 4 hours before you transfer it to containers for storage. Proper maintenance and care of your utensils and containers helps ensure the best yogurt quality and longevity.
Troubleshooting Homemade Yogurt Issues
Ever have that moment when your homemade yogurt just doesn’t turn out as planned? It can be super frustrating! If you’ve got a runny batch, it might be that you didn’t give it enough time to set. Try letting it ferment for an extra hour or two, and see if that helps thicken it up.
Also, keep an eye on the flavors. If things taste off, it could mean contamination, so make sure you’re sanitizing all your tools properly before you start. And don’t forget about the milk! Heating it to the right temperature—180°F (83°C)—is key for proper coagulation.
Now, if your yogurt turned out a bit too tangy, that likely means you went a little long on the fermentation. Cutting back to 8-10 hours should do the trick. Plus, using regular whole milk instead of ultra-pasteurized can really enhance that creamy texture.
Using utensils like wooden spoons can help maintain the quality of your yogurt by being gentle on cookware and easy to clean.
Flavoring and Using Your Yogurt Creatively
Have you ever made homemade yogurt and thought, “This is great, but what if I could make it even better?” Well, I get it! While your creamy creation is fantastic on its own, it can be so much more with a little creativity.
Try this: once your yogurt has fermented and you’re ready to enjoy it, add some sweeteners like honey or maple syrup. It’s amazing how a drizzle of sweetness can elevate the flavor. Need more excitement? Mix in some fruit purées, jams, or even fresh fruits for delightful layers of flavor. If comfort is what you seek, a splash of vanilla or almond extract can make every spoonful feel special.
Now, let’s not forget about spices. Ever thought about adding a pinch of cinnamon or nutmeg? Those cozy flavors really complement yogurt nicely. And if you need some crunch, tossing in granola can make it a satisfying treat. So, why does this matter? Flavored yogurt is not just for dessert; you can even blend your yogurt with herbs and lemon juice to create a tasty dressing that’s healthy too.
Truth is, yogurt can be a star player in your recipes. You can replace sour cream or buttermilk with yogurt to boost moisture and add nutrients. It’s a little swap that goes a long way in enhancing your meals without much effort.
Also, much like choosing the right rice cooker for sushi—from settings that optimize texture to keep-warm features—using a multi-cooker with versatile cooking functions can significantly enhance your yogurt-making process.
In short, there are plenty of ways to amp up your homemade yogurt. So, what flavor combinations will you try first?
Frequently Asked Questions
How to Make Yogurt in a Multi Cooker?
To make yogurt in a multi-cooker, we’ll choose whole milk, adjust settings for yogurt fermentation with probiotic cultures, and explore flavoring options. Afterward, we’ll enjoy homemade yogurt’s health benefits and customize consistency.
What Is the Common Mistake When Making Yogurt?
A common mistake we make when making yogurt is neglecting temperature control. Inconsistent heat affects yogurt thickness, and improper starter culture usage leads to fermentation failures. Let’s focus on sanitation practices and proper equipment to troubleshoot these issues.
What Are the 7 Steps for Making Your Own Yogurt?
To make yogurt, we’ll heat milk, cool it, add yogurt cultures, and allow yogurt fermentation. We can explore milk types, enjoy flavor variations, guarantee yogurt thickness, and learn storage tips for probiotic benefits!
What Temperature Kills Probiotics in Yogurt?
Probiotics start to perish beyond 160°F. For ideal yogurt fermentation, we need to maintain a temperature range of 110°F to 115°F, ensuring healthy bacteria thrive, preserving those essential living organisms important for our microbial health.


